
APISIX Installation and Configuration on Ubuntu
APISIX Installation and Configuration on Ubuntu
What Must Be Installed?
- APISIX API Gateway
- etcd Database
- APISIX Dashboard
- Golang
- Node.js
- Yarn
- Make
- NVM
Install and Configure APISIX and etcd
1. Add APISIX Debian Repository
wget -O - http://repos.apiseven.com/pubkey.gpg | sudo apt-key add -
echo "deb http://repos.apiseven.com/packages/debian bullseye main" | sudo tee /etc/apt/sources.list.d/apisix.list
2. Install APISIX
sudo apt update
sudo apt install -y apisix=3.8.0-0
3. Install etcd
ETCD_VERSION='3.5.4'
wget https://github.com/etcd-io/etcd/releases/download/v${ETCD_VERSION}/etcd-v${ETCD_VERSION}-linux-amd64.tar.gz
tar -xvf etcd-v${ETCD_VERSION}-linux-amd64.tar.gz
cd etcd-v${ETCD_VERSION}-linux-amd64
sudo cp -a etcd etcdctl /usr/bin/
nohup etcd >/tmp/etcd.log 2>&1 &
4. Auto-start etcd on Reboot
crontab -e
# Add this line:
@reboot nohup etcd >/tmp/etcd.log 2>&1 &
5. Configure APISIX Admin Key
Edit /usr/local/apisix/conf/config.yaml:
deployment:
  role: traditional
  role_traditional:
    config_provider: etcd
  admin:
    admin_key:
      - name: admin
        key: <secret-api-key>
        role: admin
Note: Update the API key before deploying to production.
6. Start and Enable APISIX
sudo systemctl enable apisix
sudo systemctl start apisix
sudo systemctl status apisix
Install and Configure APISIX Dashboard
1. Install Dependencies
sudo apt install -y nodejs yarn golang-go make
curl -o- https://raw.githubusercontent.com/nvm-sh/nvm/v0.39.1/install.sh | bash
nvm install 16 --lts
nvm use 16
npm install --global yarn
yarn config set strict-ssl false
2. Download and Build Dashboard
git clone -b release/3.0 https://github.com/apache/apisix-dashboard.git
cd apisix-dashboard
make build
3. Run and Install Dashboard
cd ./output
./manager-api
Then install to system:
sudo mkdir -p /usr/local/apisix-dashboard
sudo cp -rf ./output/* /usr/local/apisix-dashboard
4. Create Systemd Service
cd apisix-dashboard
sudo cp ./api/service/apisix-dashboard.service /usr/lib/systemd/system/apisix-dashboard.service
sudo systemctl daemon-reload
5. Configure Dashboard
Edit /usr/local/apisix-dashboard/conf/conf.yaml:
allow_list:
  - 127.0.0.1
  - <ip-address>

users:
  - username: admin
    password: <password>
  - username: user
    password: <password>
6. Enable and Start Dashboard
sudo systemctl daemon-reload
sudo systemctl enable apisix-dashboard
sudo systemctl start apisix-dashboard
sudo systemctl status apisix-dashboard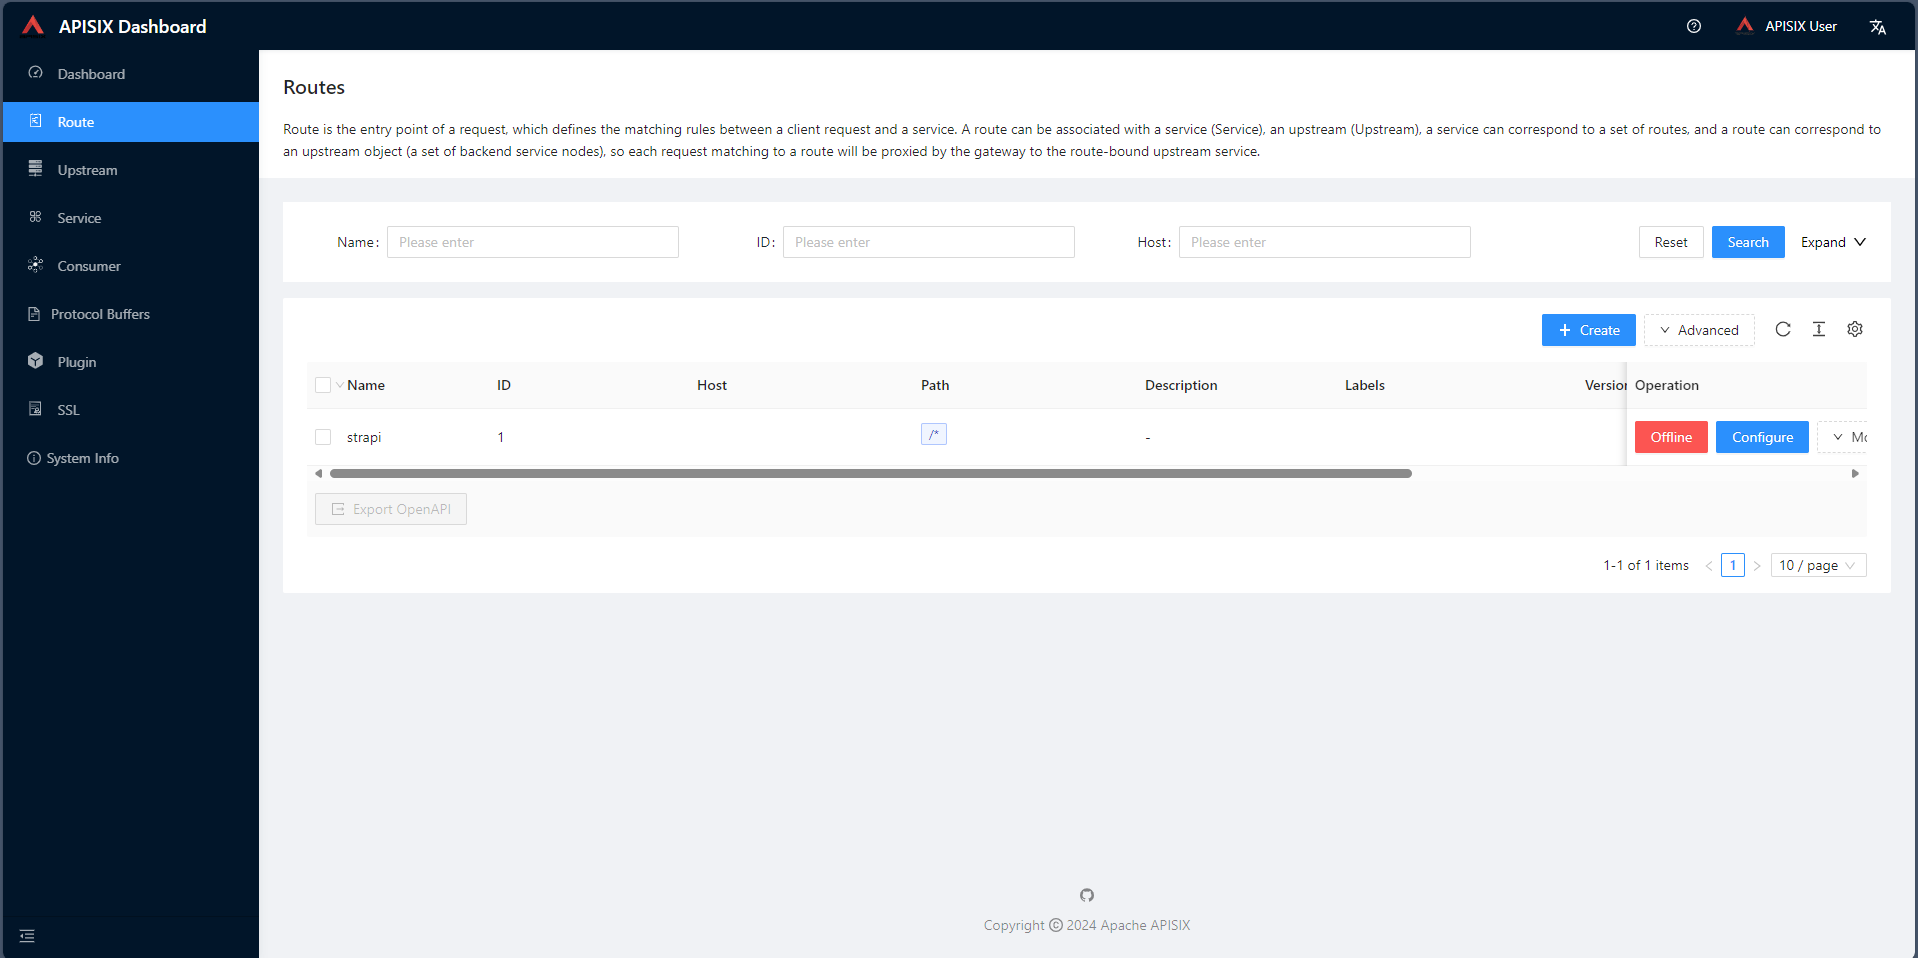
Testing Service
Test Admin API
curl http://127.0.0.1:9180/apisix/admin/routes?api_key=<secret-key> -iExpected response: HTTP/1.1 200 OK
Create an Upstream Example
curl "http://127.0.0.1:9180/apisix/admin/upstreams/1"
  -H "X-API-KEY: <API-KEY>"
  -X PUT
  -d '{
    "nodes": [
      {"host": "10.10.10.108", "port": 1337, "weight": 1},
      {"host": "10.10.10.108", "port": 1338, "weight": 1}
    ],
    "timeout": {"connect": 6, "send": 6, "read": 6},
    "type": "roundrobin",
    "scheme": "http",
    "pass_host": "pass",
    "name": "strapi1"
  }'
No comments to display
No comments to display